

I know Valentine's Day was last week, but I finally finished the quilt I started in January which happens to be valentine-themed. (as you can see!)
Back at the Provo DI when I found that great cotton trim and various fabric scraps, I also got a stack of leftover quilt squares. Since I had never made a quilt, it seemed nice to have the squares ready to go. Plus they were all matching like they were from the same fabric collection.
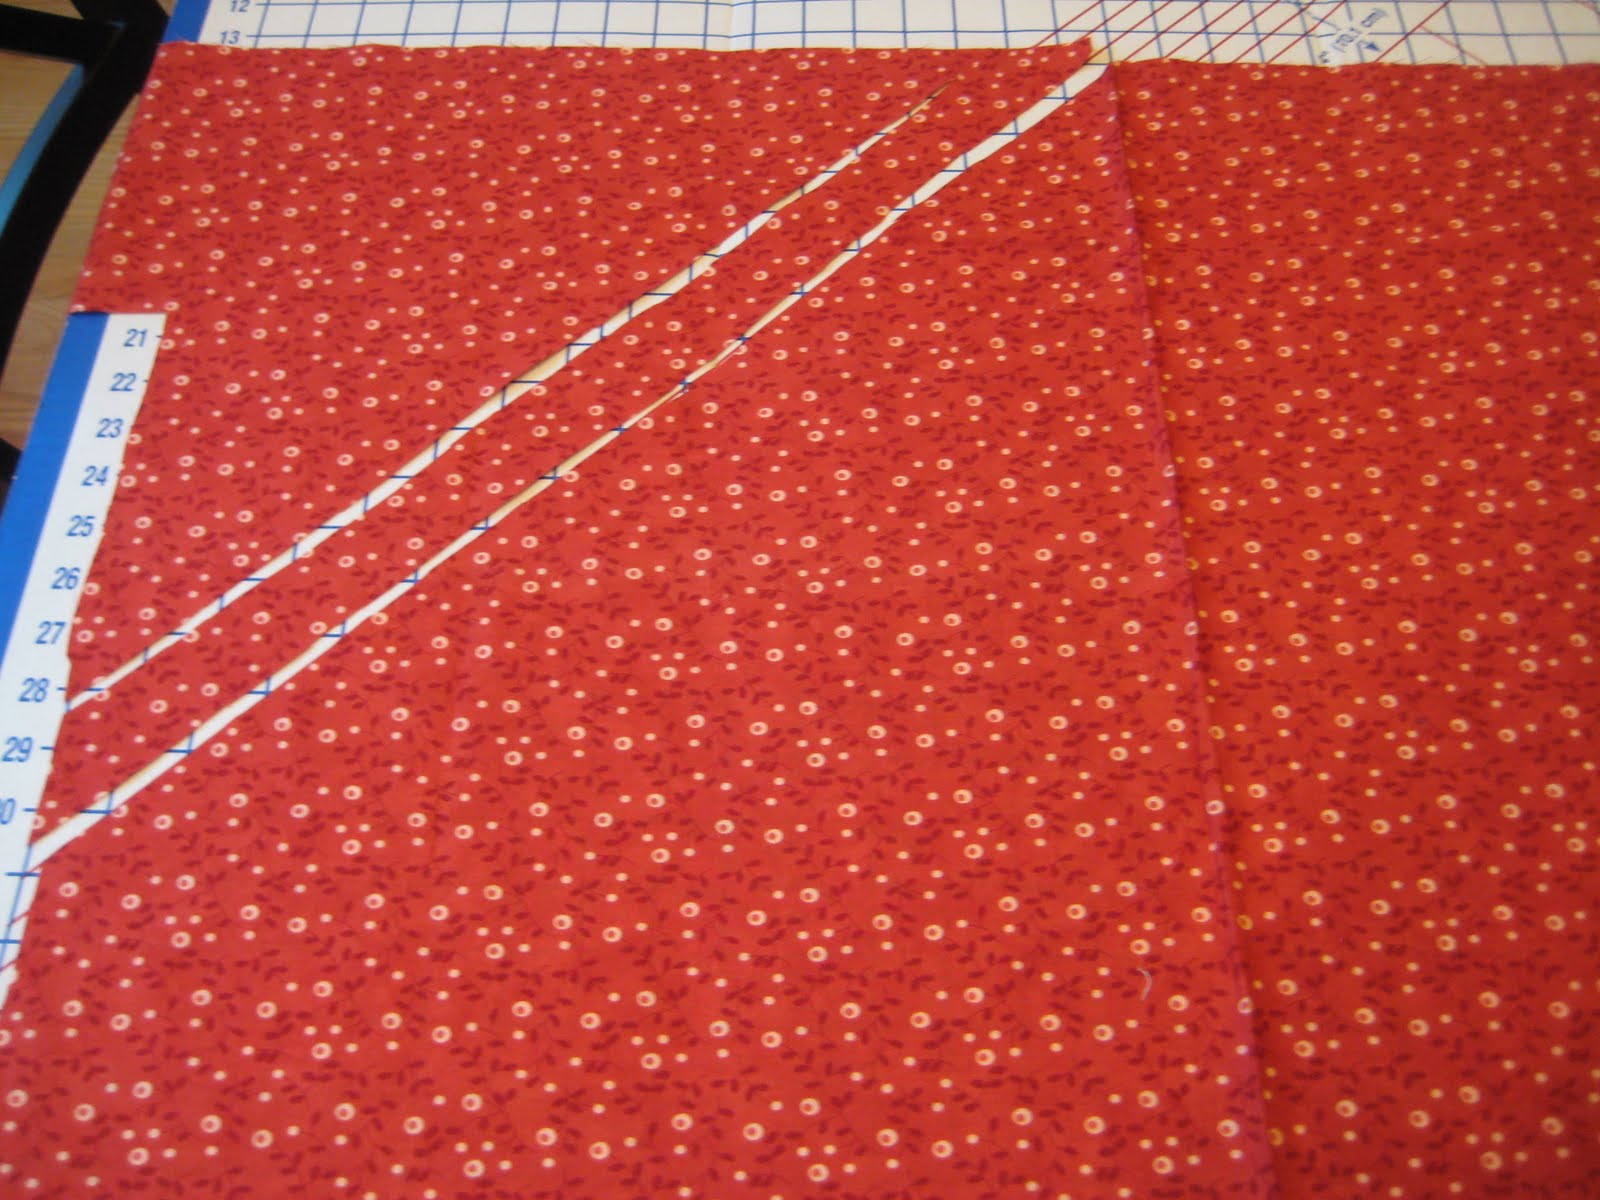
It's different than how I imagined it would be (see explanation below) but I like it and I learned a lot of tricks that will make a second or third quilt less difficult.To keep with the matching colors, I cut my own bias binding. like so:


I actually sewed this quilt top twice, once with 5"x5" squares arranged randomly and then with 2.5"x2.5" squares arranged diagonally by print. I put the whole thing together and had a few leftover squares so I cut each into 4 squares and made a "doll" quilt (I know it sounds silly, but I thought I might as well use the leftovers to make a matching doll quilt so when our future kids play house or whatever, they'll have a mini replicate of our real quilt).
Anyway, I liked the doll one better! It looked much better to have the prints organized since there were so many, and I liked the look of the smaller squares.
Doll quilt:

After deliberating back and forth for a few days, I decided to unpick the entire thing and re-cut and sew the squares! Unfortunately, to have enough fabric, I had to use the doll quilt to make the large quilt. I made another one, though! It's only about 1'x1' now - a doll's doll quilt.
*As often happens when buying someone's leftover craft supplies or unfinished craft projects, I ran into several obstacles when trying to complete this quilt.
1. limited supplies (I only had small amounts of each print, so I had to be very "skillful" in how I organized the pattern)
2. fabric from a few years ago with impossible to match colors (brick red, salmon pink, and off white were never so hard to match. Luckily, I found enough back stock of the same print collection, "Candy Kisses" by Sandy Gervais, at Prairie Point Junction online. I ordered enough for the quilt backing, binding, and a couple other prints to fill out the front)
2. fabric from a few years ago with impossible to match colors (brick red, salmon pink, and off white were never so hard to match. Luckily, I found enough back stock of the same print collection, "Candy Kisses" by Sandy Gervais, at Prairie Point Junction online. I ordered enough for the quilt backing, binding, and a couple other prints to fill out the front)
3. inexperience. This was my first real quilt, and I naively thought it would look nice if the 15+ prints were arranged randomly. I laid out the squares, thought it looked awful, but sewed them all together anyway. A few days later, I finally gave in and unpicked the entire quilt! I cut the 5" X 5" squares into 2.5" X 2.5". I like it much, much better, but it took forever!
Before (I didn't take a full photo, because I didn't like how it turned out):

After:

4. precut squares - would have been easier as strips (sew strips together, cut crosswise into strips of squares, arrange in shifted pattern, see diagram below)Before (I didn't take a full photo, because I didn't like how it turned out):
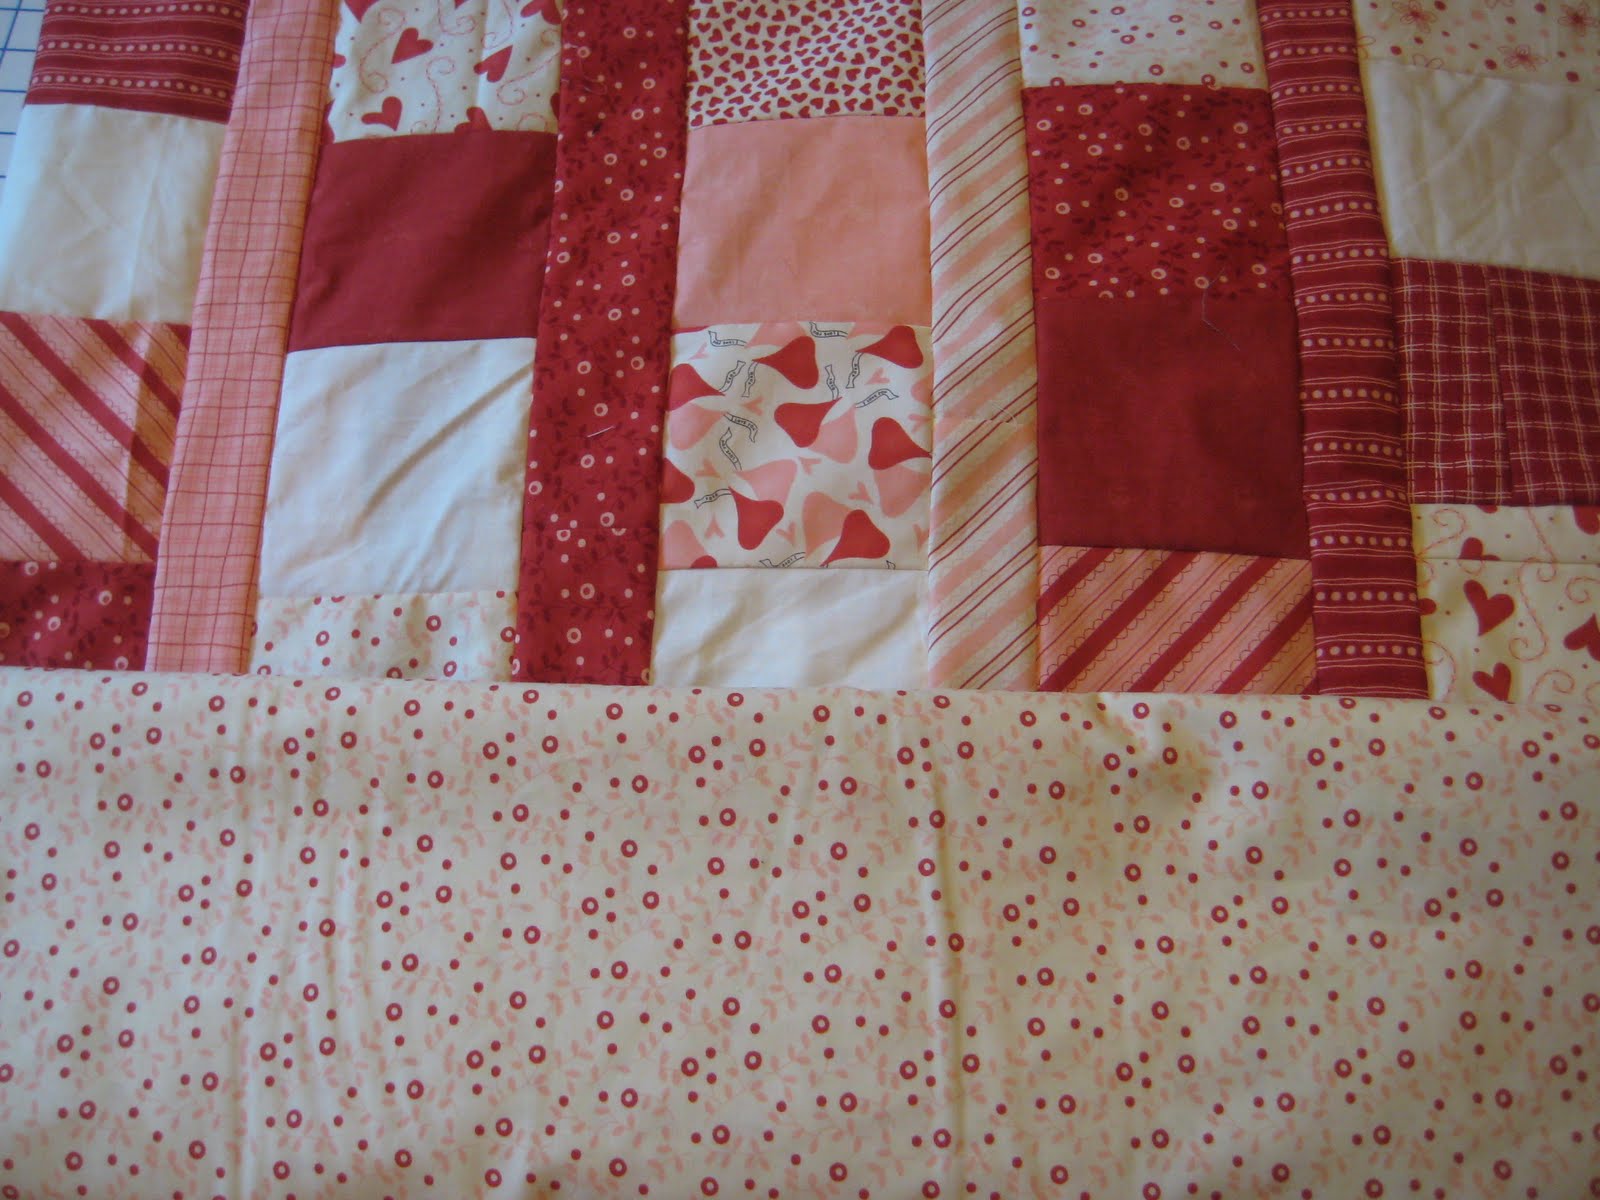
After:


I'm glad it's finished!
4 comments:
It is beautiful! I have your old doll furniture and it will look fantastic with the little quilt on it.
Amazing, yet not surprising :) You are a talent, Tess! It's beautiful!
Oh it's finally done! That quilt occupied a lot of your mind and time for several weeks, but it looks beautiful and was totally worth it.
I CAN'T BELIEVE YOU UNPICKED THE ENTIRE THING!!!
Sorry for shouting, but I really can't believe it.
It looks gorgeous, Tess. Really, truly. I love peeking in on your sewing projects (and your emptying the fridge projects!).
XO
Post a Comment