It's a celebration banner made from beautiful batik scraps made by my friend, Annalisa, from my visit to St John, US Virgin Island. When I was working at the the textile studio there, this seemed like the best way to capture the bright variety of color and design in Annalisa's batik. These are all on retired bedsheets from Maho Bay Camps.
Showing posts with label recycling. Show all posts
Wednesday, August 15, 2012
batik print banner!
The first success in my new mission to complete my nearly 100 unfinished projects....
Saturday, February 18, 2012
RE:Store, Seattle
My mom and I visited a strange, cluttered, treasure of a store in the Ballard area of Seattle.
RE:Store is a reclaimed furnishings and buildings store.
There were aisles of old windows, doors, sinks, vent covers, door knobs, lighting fixtures, etc. salvaged from demolition projects.
Monday, April 18, 2011
old baby blankie
About a month ago I found a cute, old baby blankie at the Goodwill.
It's pretty small (3'x2') and made of various flannel scraps. It reminds me of the flannel nightgowns I used to wear as a kid.
I bought it (for $1, hahahaha!) because I liked how it was already broken in.
One of the flannel prints didn't wear well over the years, so I replaced 4 of the squares yesterday, washed it, and now it's ready to go!
Friday, March 4, 2011
black and white quilt
I've been planning how to best use my new black and white quilt squares I bought at an antique store in Orange, Ca.
Here is my plan:
Using the 8 antique squares and 4 new squares I will make, I'm going to make a queen size quilt for our bed.
There will be 12 b&w quilt squares with a 3" white border between each square, 12" white overhanging panels on all 4 sides, and white backing.
Here are the additional black prints I found at ReproductionFabrics.com I'll use for the 4 new squares. It's going to be hard to find the right white fabric since the antique one is aged and tinted.
I'm going to use a bright yellow binding to add some pop to this almost Amish looking black and white quilt. I might use the yellow flower print (below).
These three prints I fell in love with while looking for the right black prints. The green one in the middle was on sale (yay!) and I think it would make a beautiful blouse or dress for me...or a cute baby bib and baby pants for Pea!
Well, I guess I have another quilt project to keep me busy...
Thursday, February 24, 2011
Alabama stitching
I made my first Alabama Chanin - inspired project!
After posting last week about how much I love that layered, reverse appliquéd stitching, I found myself daydreaming about projects frequently at work.
In oogling at the DIY Studio Style page, I realized white and yellow (2 of the colors I had on hand) were a great color combination and I decided to make this over-arm pin cushion!
I know, of all the things to make...why a pin cushion?
I guess because it's small and simple like a sampler project to get a feel for this technique. And it's pretty and will make me want to camp out on the couch with my new pin cushion draped over the couch arm making more reverse appliquéd clothes :)
Here are my project specs:
7"x18.5" main body (2 white, 1 yellow)
7"x5" pocket (4 white, 2 yellow)
7"x 8" pin cushion (2 white, 1 yellow).
I cut everything and then stenciled the design with black ball point pen (not the best idea to use pen because it smears when handling while sewing. Usually, you use a spray paint, but the example pin cushion I was copying looked a lot like pen. The overall look is nice, but it'll probably get ruined if I ever wash (?) it.)
I cut my stencil out of synthetic felt for durability/longevity.
I sewed the pieces like so (above). In hindsight, it would have been smarter to stencil two large white rectangles to resemble the above pieces and eliminating extra seams. Unfortunately, I never plan my projects thoroughly enough to prevent oversights like this...
Now, sew the large rectangles together with right sides facing in, leave a small hole, turn right side out. Should look like this now: (with corners folded up)
Now for the stitching!
Use button/carpet thread (it's very thick) doubled and a long, but sturdy needle.
I started on the pin cushion using white thread, but found that it masked the pen outline. I switched to grey and found that it reinforced the pen marks giving a strong feel that I liked better.
The stitched and partially snipped pin cushion pieces. I like it!
After trimming all the white spaces (above). You can see the slight difference between the grey (main body) and white (pin cushion) thread stitching.
Then, sew across the short edges of the main rectangle for stability, fold the pockets in place, and stitch them along the side edges.
Last, fill the pin cushion with rice and stitch in place.
Taa Daa!
This really is a beautiful way to recycle old shirts, thanks Natalie Chanin!
Wednesday, February 23, 2011
Monday, February 21, 2011
Happy Valentine's Day!
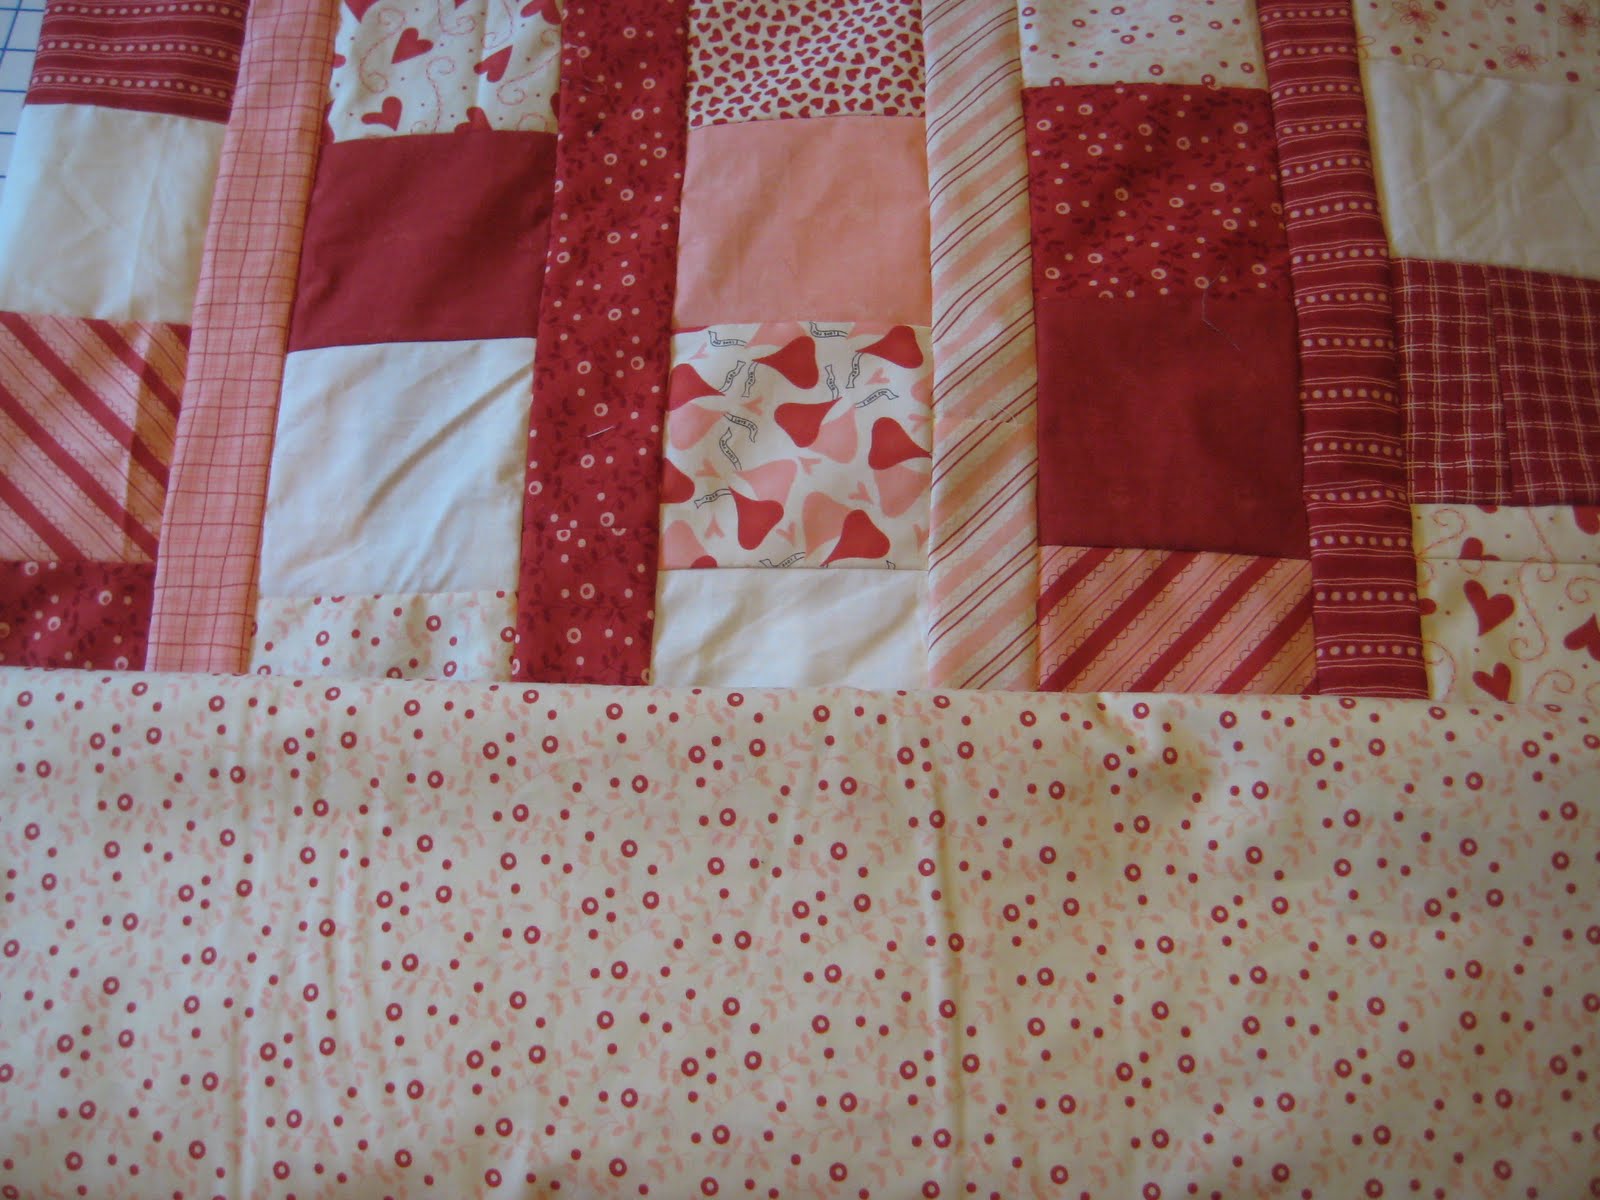
I know Valentine's Day was last week, but I finally finished the quilt I started in January which happens to be valentine-themed. (as you can see!)
Back at the Provo DI when I found that great cotton trim and various fabric scraps, I also got a stack of leftover quilt squares. Since I had never made a quilt, it seemed nice to have the squares ready to go. Plus they were all matching like they were from the same fabric collection.
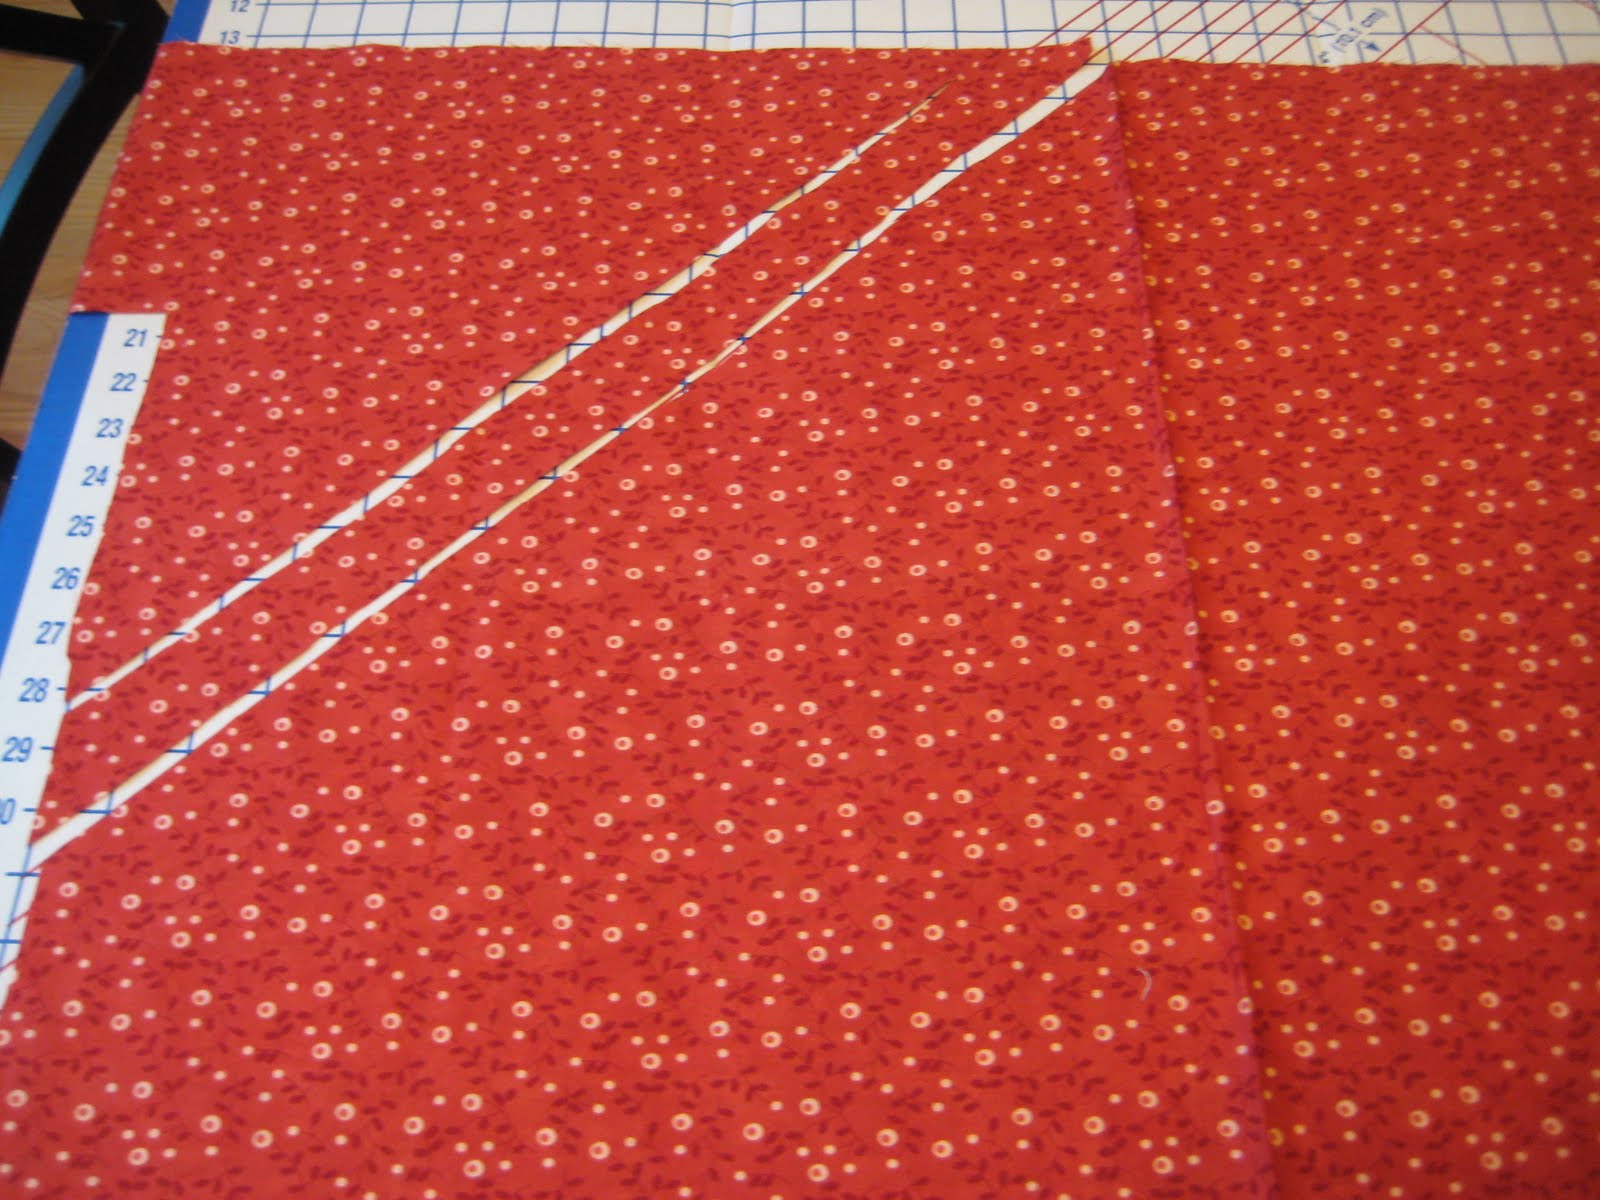
It's different than how I imagined it would be (see explanation below) but I like it and I learned a lot of tricks that will make a second or third quilt less difficult.To keep with the matching colors, I cut my own bias binding. like so:
I actually sewed this quilt top twice, once with 5"x5" squares arranged randomly and then with 2.5"x2.5" squares arranged diagonally by print. I put the whole thing together and had a few leftover squares so I cut each into 4 squares and made a "doll" quilt (I know it sounds silly, but I thought I might as well use the leftovers to make a matching doll quilt so when our future kids play house or whatever, they'll have a mini replicate of our real quilt).
Anyway, I liked the doll one better! It looked much better to have the prints organized since there were so many, and I liked the look of the smaller squares.
Doll quilt:
After deliberating back and forth for a few days, I decided to unpick the entire thing and re-cut and sew the squares! Unfortunately, to have enough fabric, I had to use the doll quilt to make the large quilt. I made another one, though! It's only about 1'x1' now - a doll's doll quilt.
*As often happens when buying someone's leftover craft supplies or unfinished craft projects, I ran into several obstacles when trying to complete this quilt.
1. limited supplies (I only had small amounts of each print, so I had to be very "skillful" in how I organized the pattern)
2. fabric from a few years ago with impossible to match colors (brick red, salmon pink, and off white were never so hard to match. Luckily, I found enough back stock of the same print collection, "Candy Kisses" by Sandy Gervais, at Prairie Point Junction online. I ordered enough for the quilt backing, binding, and a couple other prints to fill out the front)
3. inexperience. This was my first real quilt, and I naively thought it would look nice if the 15+ prints were arranged randomly. I laid out the squares, thought it looked awful, but sewed them all together anyway. A few days later, I finally gave in and unpicked the entire quilt! I cut the 5" X 5" squares into 2.5" X 2.5". I like it much, much better, but it took forever!
Before (I didn't take a full photo, because I didn't like how it turned out):

After:

4. precut squares - would have been easier as strips (sew strips together, cut crosswise into strips of squares, arrange in shifted pattern, see diagram below)Before (I didn't take a full photo, because I didn't like how it turned out):
After:
I'm glad it's finished!
Thursday, February 10, 2011
Project Alabama

(Photo from Alabamachanin.com)
For ten years now I have been in love with Project Alabama, Natalie Chanin's amazing hand sewn clothes.
They are so beautiful. I can't get over each stitch, each bead, the colors, the stenciling, the whole thing - it's too much!
I remember back in 2001 or 2002 (in high school) I saw some of her Project Alabama stenciled and applique rooster shirts in a magazine and immediately wanted to make one.
I actually did make a shirt inspired by her designs, but it wasn't anything as lovely as what she had done. I used her technique of double layering cotton knits (in this case, a shirt), stitching a design (in this case, my name) and then cutting away the top layer. You can create a positive or negative image by cutting out the letters/shapes or cutting away everything but the letters/shapes.
Her company has moved from stenciled/applique shirts to stenciled/applique everything and I love it all! I love the combination of craft, skill, art, and time that each item exudes. She now has some particularly beautiful shirts, dresses, and skirts for ladies.
Here are some inspirational links you must see:
Alabama Chanin website
studio style, her DIY website where you can order kits or supplies
past collections
a Google image search
Her books: Alabama Stitch Book, and Alabama Studio Style
a project bag on Purl Bee
Anyway, about ten times so far I've almost started a real project, but put it aside for something else. This time I'm serious, and I'm blogging to prove it! I'm going to make a beautiful, double layer, applique skirt for myself (after I finish my first quilt that's almost done, Adam's "performance" fleece jacket, and some storage bags for our ice cramp-ons).
I've been collecting supplies for years now (old cotton knit pillow cases and sheets from DI, cotton knit shirts in cool colors, fabric spray paint, lovely stencil ideas that I traced and cut out of acrylic felt (to make them re-usable), I've already got lots of beads. I'm set as far as thrifted/recycled supplies go...just need to actually make something!
Her books: Alabama Stitch Book, and Alabama Studio Style
a project bag on Purl Bee
Anyway, about ten times so far I've almost started a real project, but put it aside for something else. This time I'm serious, and I'm blogging to prove it! I'm going to make a beautiful, double layer, applique skirt for myself (after I finish my first quilt that's almost done, Adam's "performance" fleece jacket, and some storage bags for our ice cramp-ons).
I've been collecting supplies for years now (old cotton knit pillow cases and sheets from DI, cotton knit shirts in cool colors, fabric spray paint, lovely stencil ideas that I traced and cut out of acrylic felt (to make them re-usable), I've already got lots of beads. I'm set as far as thrifted/recycled supplies go...just need to actually make something!
Friday, January 21, 2011
Sewn Slippers
I've seen similar slipper projects on blogs/websites over the last year, but finally got around to making some for myself. I traced my foot and drafted an "upper" pattern as you see:
(Feel free to enlarge and use to draft your own custom pair - I'm a wide womens 8.5 and the paper is normal 8.5" X 11" )
Cut out 2 uppers and 2 soles in both the outer fabric and the lining fabric.
For fabric, I reused some old shredded corduroy pants that needed to be thrown away weeks ago but I continued to wear until yesterday and an old cotton sheet (my twin sheet from before we were married!)
To cushion the sole, cut some thin cotton batting (or a few layers of flannel or fleece, etc.) slightly smaller than the sole, as shown below:
Sew outer and lining fabric along foot opening, then turn right side out:
Then sew back seam closed and make a channel for elastic:
Pin upper to sole (inside out). Allow upper to gather a bit at the toe and heel for a better fit. Sew, try on and adjust sizing, etc.
I cut some bias tape from extra lining fabric and bound the seam to keep from fraying and make the slipper more durable.
Turn right side out and embellish with bow, buttons, etc. (I still need to do this....)
Here's a view from the bottom. It will be fun to have many different pairs in various colors and print combinations. I definitely want to make a pair with soft leather for the sole.
I know this is going a little over board, BUT, it could be cool to have a basket of these in various sizes and colors by the front door (of some future house) for kids and guests to put on when they come over :)
Subscribe to:
Posts (Atom)