Tuesday, August 31, 2010

Some plant dye duds

Some recent unsuccessful plant dyes...so you don't have to waste your time, too :)

Yellow beets: We got yellow beet roots (Beta vulgaris) in our CSA veggie box and after cooking them one night, I wondered if the leftover juice would dye anything. I used alum and 100% cotton and got basically nothing.
Buddleja "Butterfly Bush": Jenny Dean (a plant dye guru) posted here on her blog that she got bright yellow-golds to greens from Buddleja flowers. There are a few bushes on UW campus and in my neighborhood, so of course I tried it. I used alum and 100% cotton. Although the dyebath was dark colored, nothing really happened on the cotton. Just today, I re-read Jenny's post and am wondering if I had not properly extracted the color. I can easily get more material, so I may try this again following her steeping directions and using wool instead of cotton "just in case".
I'll keep you posted, but until then, Buddleja is a dye dud in my book :)

Monday, August 30, 2010

Hymns and Hyrs

Something silly I recently saw online:

(Via MyRegisBlog.com)

Sunday, August 29, 2010

patch it up!


I just patched the knee of Adam's jeans and it reminded me of the first pair of jeans I patched for him. Here comes the story....

We had crushes on each other and went on dates in the Fall of our last year in college at BYU (2007). Adam's bike seat wore a hole in the seat of his favorite jeans and he asked me to patch them - since I sew. I took them home and thought of a way to both fix the pants and leave my mark.
Recently, Adam said he loved seeing the friendly, yellow "Hello" staring up at him at he dressed. This was back when we were dating off and on and I like to think it helped tipped the scales in my favor :)
Two years later we are married and those jeans are still Adam's favorite pair. Except they are now shorts and have been mended in about ten additional places.

Friday, August 27, 2010

cozie


I like to make cozies, no big deal.
But I was ecstatic when Adam asked me to make a cozie for his new Nook (like a Kindle Reader). He even picked out the fabric :)

Thursday, August 26, 2010

educational headbands


In an attempt to make a useful object out of the cotton I dyed with fig leaves...I created a monster.
It's not that crazy, actually, but Adam said it reminded him of Sufjan's idea of making an album for all 50 states.
So:
On these dye swatches I've been posting, I am going to embroider a motif from the dye plant I used and turn it into a headband. Then I will have a unified method of displaying and highlighting natural dyes. They will also be educational and more appealing to look at than my dye notebook.
Here are figs and fig leaves embroidered on 100% cotton dyed in fig leaves.
Here are yellow onions embroidered on 100% cotton dyed in yellow onion skins.
The possibilities are endless!
More to come :)

Wednesday, August 25, 2010

Seattle summer


A rare view of Mt Rainier on the most beautiful day of summer:
This mountain is funny because most of the year you don't realize how close it is. Then, one day, it looks like it's in your backyard. Sneaky.

Monday, August 23, 2010

batik lesson #1 - vine print


In May, I worked in the Caribbean at a recycled art center at Maho Bay Camps on US Virgin Island St. John. My friend, Annalisa, runs the batik studio at the art center and I was lucky enough to visit her and work there for a month. I intended to post photos a long time ago from that trip, both scenic and of the sewing and batik, but I've been busy. Here is the first of a series of posts.

Batik lesson from a tropical recycled art center:
1. Choose Material- we used sheets recycled from the laundry services of the camps. 100% cotton was our prefernce, but sometimes we had to use 50-50 Cotton/Polyester. Dye does not adhere well to polyester and wax is difficult to remove from polyester, so we do not recommend it! Use Cotton, Rayon or silk for batik.
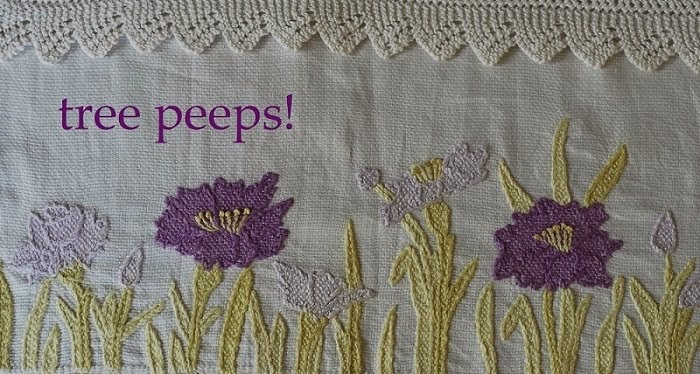
Here, I am using a vintage/thrifted 100% cotton curtain for this personal sample that I will take home. Be sure material is washed, free of oil-stains, and ironed before using.
2. Create a stamp- Annalisa cuts her stamps from old, foam mattress pads salvaged from the housekeeping department of Maho Bay Camps. You can create any shape or image if you are careful in the planning and cutting. You can see some stamp examples in the photo above. Here, Annalisa used razor blades to cut this stamp to portray a plant growing near the art center. (I thought I took a photo of the plant, but I can't find it....). This stamp is great because she made sure the upper side of the image fit well with the lower side of the image so it can be stamped in series like a vine.
(I thought I took some close-up photos of stamps, but you will have to get the idea from these photos)
3. Wax- melt paraffin (or a combination of paraffin, microcrystallin, and beeswax) in an electric skillet. These are cheap at thrift stores and allows a portable, constant low heat source. Try to batik outdoors or in a well ventilated area. Wax fumes are very bad for your lungs. Never heat wax to the point where it vaporizes and you see fumes. Always use a fan to blow the air near the wax away from you.
(Here is Annalisa stamping cloth with wax)
4. Stamping- Set stamps in the melted wax, there should be about 1/2" wax in skillet. The wax will soak into the stamp like a sponge. Lift the stamp and shake, but don't tip before stamping. You can do a series of 5-10 images before re-dipping the stamp in wax. The first image will be little "juicier" than the last image but this can be managed through practice. Use a plastic sheet under your work, and lift your waxed material frequently while still warm to prevent it from sticking to the sheet and then leaving fibers exposed.
*When finished stamping, fix any mistakes manually with a triangle piece of foam dipped in wax. After waxing the front, turn the material over and fill in any areas where the wax didn't soak through and saturate the fibers on the back. Any exposed fibers will take up color when dyed.
(cloth before dyeing, waxed with a variety of stamps)
5. Dye-Soak the waxed material in soda ash solution. Mix the dye according to instructions. Here we used a fiber reactive dyebath in plastic tubs.
6. Rinse- We sprayed with a hose
7. De-wax- Unfortunately, I don't have any photos of this step...and it is one of the more important steps. After all that waxing and dyeing, now we need to get the wax off. The best way is by boiling the cloth in water on an outdoor burner. As the wax floats to the top, skim it off and store in a plastic container to re-melt for later batik. Boil, agitate the cloth, stir and pound with a long stick, skim off wax, repeat. Do a preliminary de-wax to remove the bulk of the wax, change water, and then do a more refined de-wax to remove as much wax as possible. This is a physically demanding step, fyi.
8. Wash, Dry, Iron your new batik print!
9. And finally, the 
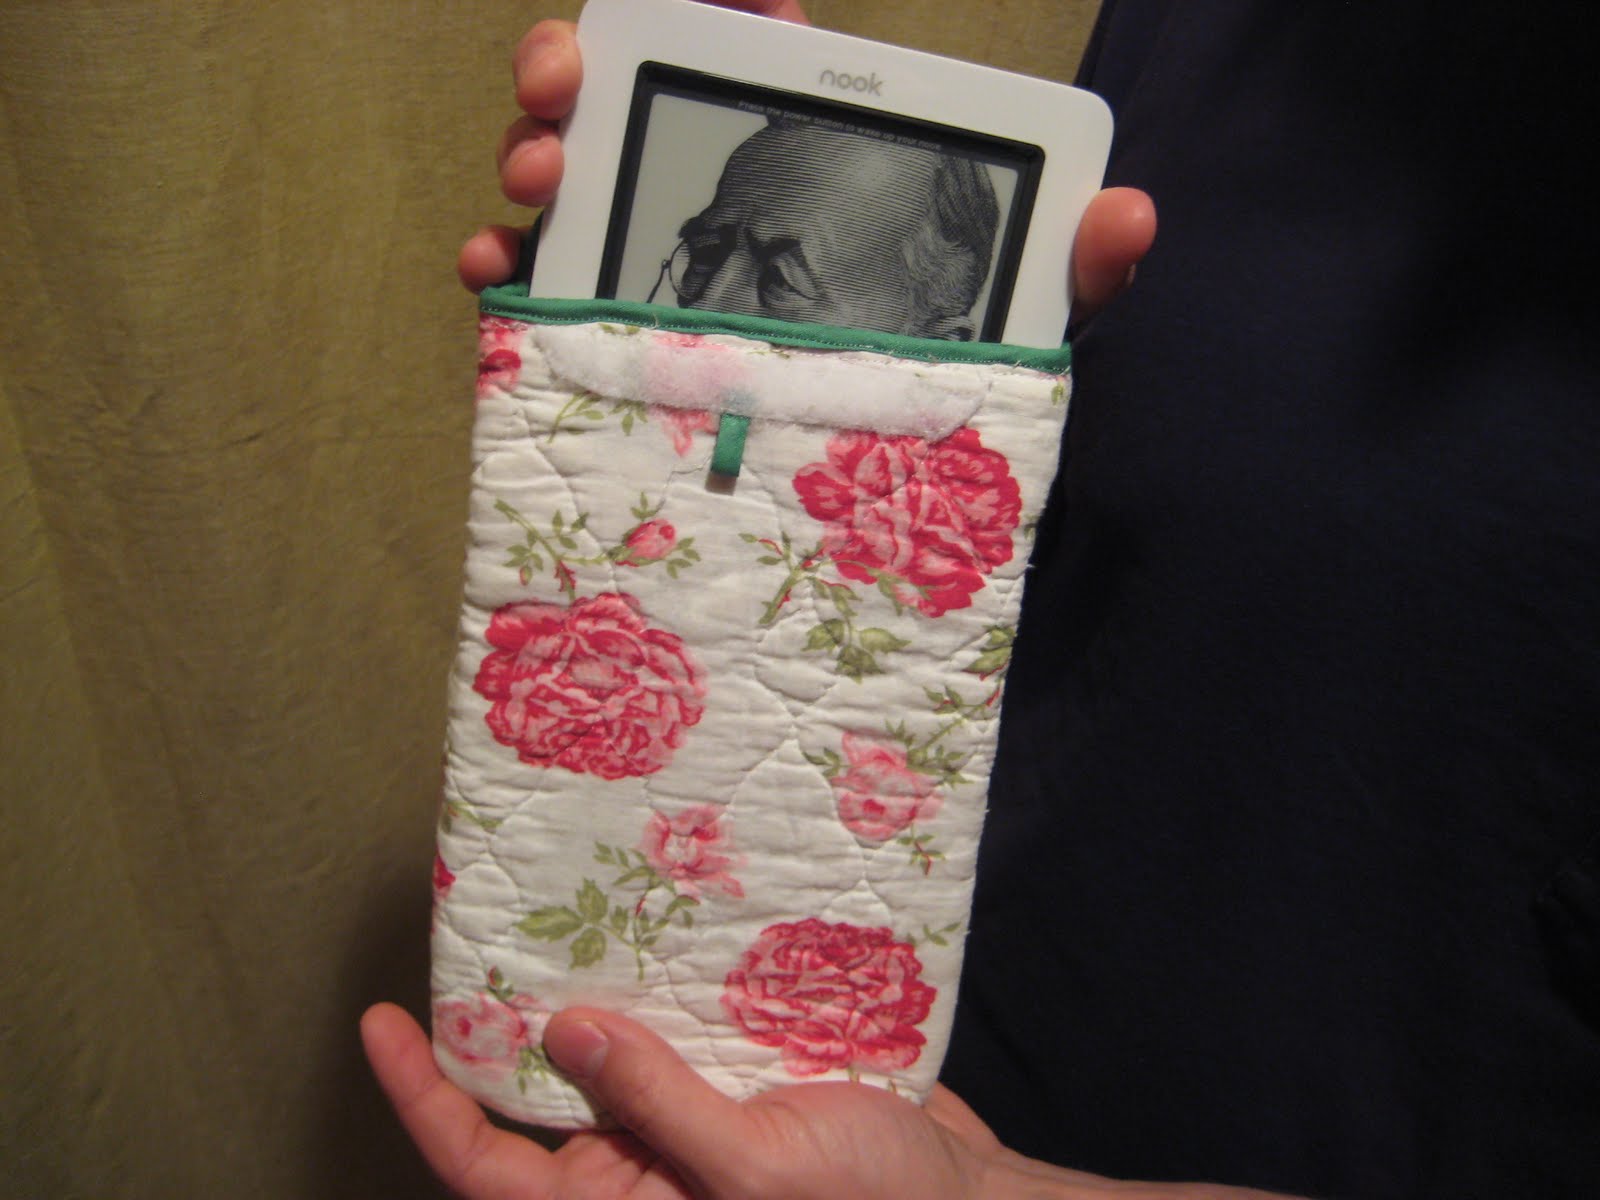
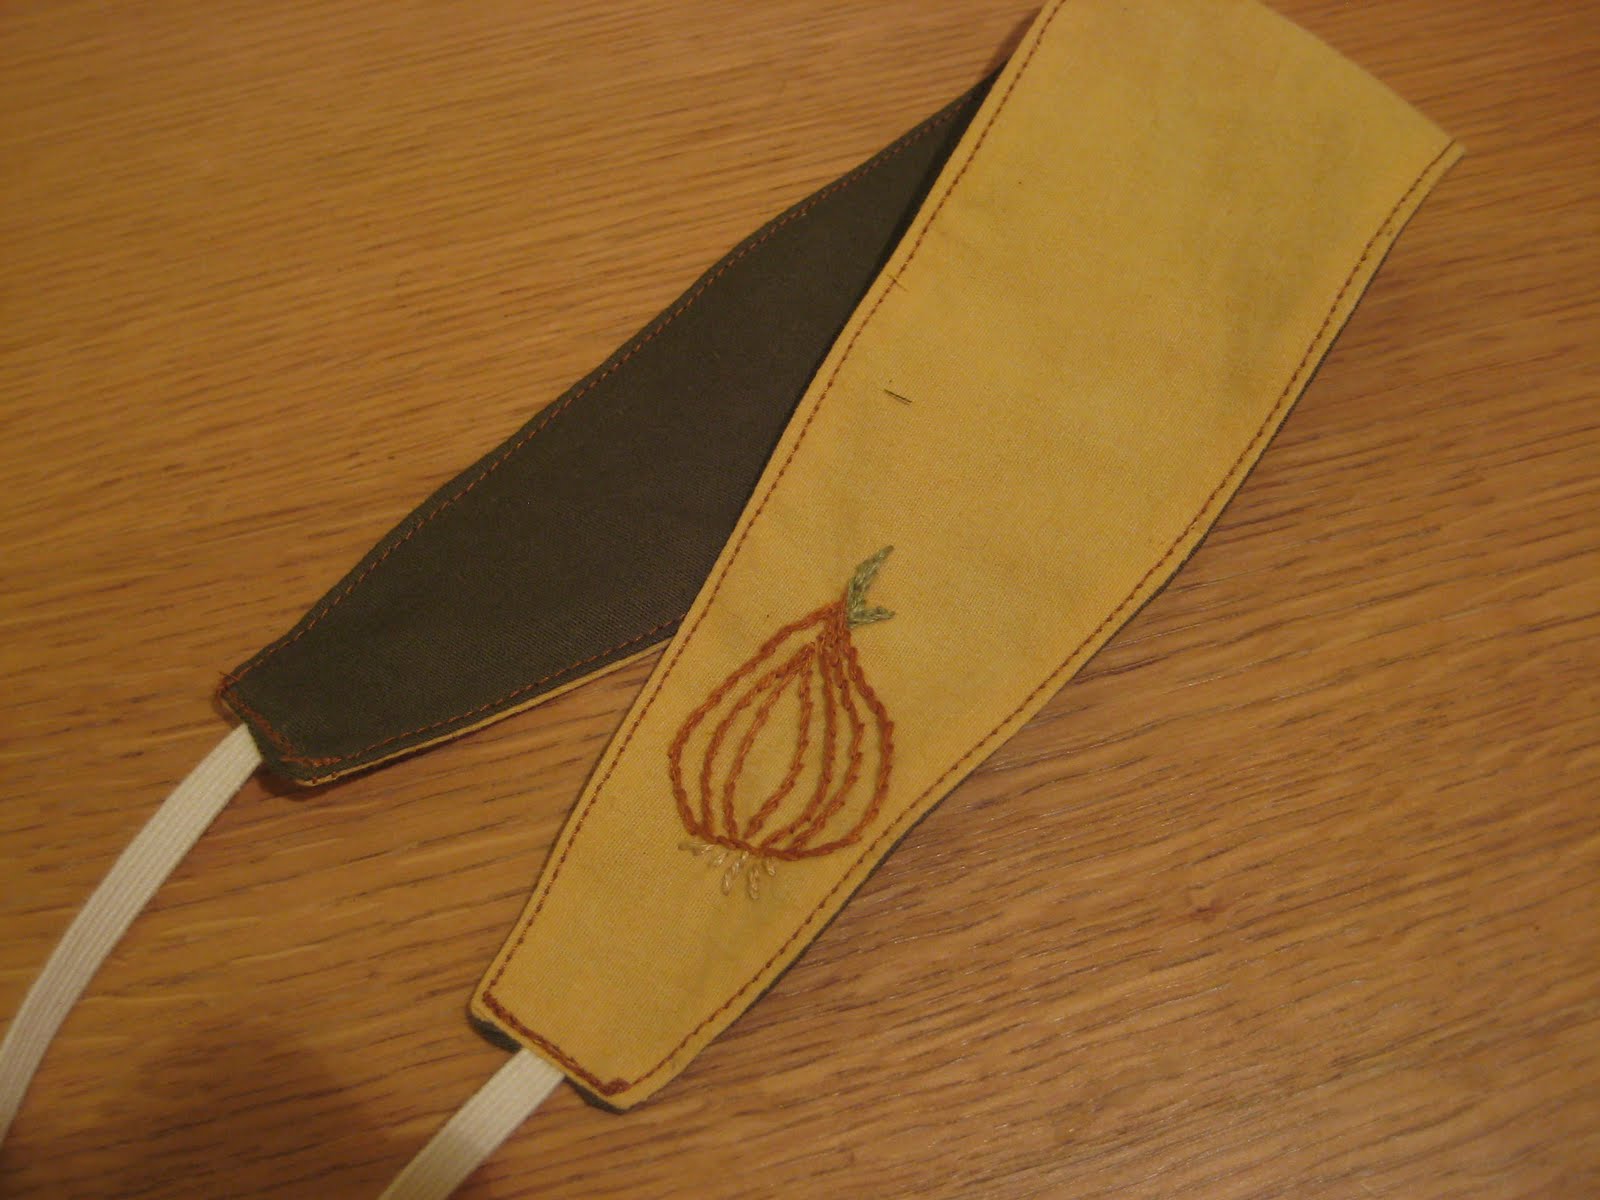
Sewing step. Cut out and sew cute things! From my two pieces of green vine print batik, I cut out two shoulder bags and used the scraps to make tiny zippered pouches/boxes/cozies (whatever you want to call them). I love making cozies. It's nice when everything has it's own container. I have a long list of objects that need cozies.


**Thanks Annalisa for the batik lesson!

Sunday, August 22, 2010

ceramic mushrooms


Last Wednesday I saw these (Amanita pantherinas) on UW campus:
Joe said they were made by someone in his fungus class. I think they did a great job. They glaze turned out perfect on the Amanitas. They were about 2 feet tall - must have used a lot of clay!

Friday, August 20, 2010

yellow onion skin dye


Finally got around to making a dyebath of the yellow onion skins I saved back in January.
Very successful results with alum on 100% cotton.

Thursday, August 19, 2010

fig leaf dye


Somehow I read online that you can get a dye from fig leaves....
There are a few fig trees on UW campus, so I of course had to try it out.
The dyebath had a beautiful red/purple in it...but I got a pale green/brown with alum on 100% cotton. Not much to speak of.
I have plans of how to turn this dye trial into a useful product, but it will take a few more days to get ready...stay tuned.
p.s. The fig leaves produced a strong, sweet, coconut? odor when cooked. It is very persistent; I can still smell it on the wooden spoon I used and on the fabric I dyed.
I don't think I will dye with fig leaves again...but I'm glad I tried it :)

Wednesday, August 18, 2010

backpacking quilts

Last summer, since we were "newlyweds," I made a two-person backpacking quilt so we could snuggle in the mountains....
This year, as "old-timers," we are trading in the two-person quilt for single, individual, all-our-own quilts.
Hahaha!
The two-person quilt was too small and uncomfortable. We cut it on the small side to shave a few fractions of an ounce off our pack weight. Unfortunately, to stay warm, we had to lay perfectly still on our backs :(
I remade the two-person (which we affectionately named "the whale" after the color of the fabric - whale blue - the shape, and the size of the quilt) to fit Adam as a single quilt.
Here it is in action! (plus his matching bomber-cap):
The outer fabric is Epic in Whale Blue
the insulation is one layer of 0.5 oz and one layer of 0.3 oz
the lining and wind flaps are .9 oz uncoated nylon in Grey

Here is the new single quilt I made to fit me:
The outer fabric is Momentum (0.9 oz nylon, micro rip-stop, DWR coated on one side)
The insulation is two layers of Primaloft One (5 oz and 3 oz)
And the lining is 1.1 oz uncoated nylon

It is a rectangle with an oval foot box.
Construction:
1. I quilted the 2 layers of batting to the lining nylon and strips of nylon acting as the outer fabric. I used these strips so I didn't poke holes in the outer fabric, which would make it less water resistant.
2. Prepare the two pieces: main rectangle and oval foot box.
To prevent bulky seams and ensure all edges are sealed against fraying, I prepared the two pattern pieces by layering the fabric with right sides together, sewing around all sides twice - leaving a gap to turn the piece right side out. I then turned each piece right side out and sewed that gap shut. I have two (a rectangle and an oval), separate, quilted and sealed pieces that I can now use to assemble the bag.
3. Assemble the bag.
To create a partially sealed bag/quilt, I folded the rectangle lengthwise with right sides together, and sewed a 24 inch seam for the lower leg of the bag/quilt. I then sewed the oval foot box to this circular part of the bag. I sewed all seams twice for extra strength.

4. Some accessories
a. At the head of the bag/quilt, I included a channel of fabric for elastic cord. This allows you to cinch the quilt around your neck and head to keep you warm and hands-free!
b. Nylon flaps. In the layering, before I sewed and turned the rectangle piece right side out, I included rectangles of nylon to act as wind flaps/handles. This creates more fabric to hold on to when wrapping the quilt around you without adding extra weight. This also makes a windproof edge you can tuck under your back when laying down to sleep.
Some of these things are hard to explain, but the pictures help. Contact me if you want more details or help in making your own backpacking quilt...or look up other examples online.
c. Triangle of fabric to strengthen and support the lower leg seam.
Now we will be warm and comfortable up in the mountains. Yahoo!
We like to go lightweight.

Here I am (looking like a scout) carrying a large - but light - pack with all the camp gear for two people.
Adam carries the pack with our climbing gear (rope, harnesses, rock shoes, cams, tricams, slings, hexes, nuts, etc.). If we won't be climbing on our backpacking trip, then we distribute the gear from this one pack into two smaller packs. We can go very fast when we pack this light!

Tuesday, August 17, 2010

Twin Berry dye


Remember the berry post? Well, I couldn't resist using the twin berries (Lonicera involucrata) as dye.
*
Typically, berry dyes are not light fast and will slowly fade. For that reason (and because I usually prefer eating berries rather than dyeing with them), I have avoided berry dyes. I have now changed my mind on the matter. In my opinion, color fading would only be a bad thing if you used the dyed fiber in a wall hanging or piece of art. If the color fades from fiber used for clothing/accessories there are many things you can do. First, the color may never fade and you'll be glad you used the berry/etc. as dye. Second, you may have worn out or lost the object before the color fades. Third, you can re-dye using the same dyestuff. Fourth, you can re-dye using another dyestuff giving more use the the same object.
*
Over the last two years, I have happened upon about 5 Lonicera involucrata plants on UW campus. I was almost too late for the berries, but I checked all 5 plants and gathered about 1 cup of berries and the bright, waxy involucres (the showy 'collar' below the berry for which the plant was named).

I blended the berries with hot water in a food processor and then poured the liquid and chopped plant into a jar. I added 2 spoonfuls of alum as a mordant and shook to dissolve. I wetted a few pieces of 100% cotton cloth and crammed them in the jar. Jar dyeing gives a 'mottled' look, which I didn't mind. If I wanted an even dye, I would have used a pot or larger jar with more water, so the cloth would be completely and evenly submerged.

I took one piece out after 2 minutes (the light piece, which I folded before submerging in dye so it would dye unevenly) and the others I left for 2 days.

I plan to make headbands out of this twin berry cloth.

I am storing the remaining dyebath in an old plastic yogurt tub in the freezer.

Monday, August 16, 2010

Ingalls Peaks - East Peak


Adam and I went on an alpine adventure.

We hiked about 5 miles to Ingalls Peaks and intended to summit the East Peak by climbing. There are 3 (North, South, and East) Ingalls Peaks each with several climbing routes. Adam researched each route and picked the easiest - The South Face of East Peak - since I am still a beginner.
The hike in was great, the meadow where we camped was beautiful, the views of Mt Stewart were amazing,
the goats were cute as ever
Adam, the alpine guide, was focused, strong, and encouraging
Everything was perfect...except we couldn't find the route we were looking for :(

We went back and forth climbing up and down walls only to climb them again. In the end, we are pretty sure we found the route. It was different than we were imagining, so we didn't recognize it.
Adam ventured out on these exposed slabs (above) to see if the summit was near enough to reach before nightfall. It wasn't, so we had to leave without finishing the route. I was pretty nervous to climb out on these slabs. The rock was serpentine (smooth and slippery) with a large drop off below.
It was a full day and we learned a lot; the adventure was successful!
I was a happy - but timid - climbing partner. Alpine climbing was more extreme in real life than I had imagined. Now that I've lived through my first adventure, I'll do better next time.

We camped in the charming alpine meadow and watched the METEOR SHOWER! (serendipitous timing!) and hiked down to our car the next day after freshening up in the river.